Pressure gauges by WIKA
WIKA is a world leader in the manufacture of mechanical pressure measuring instruments (pressure gauges). Whether you want to measure down to 0.5 mbar or up to 7,000 bar - We offer you the right pressure gauge for each industry and each measuring requirement.
What must be taken into account when selecting the right pressure gauge?
In addition to decisive factors such as the type of pressure to be measured, the scale range, nominal size (NS, case diameter) and accuracy class of a pressure gauge also determine the version of the scale. The scale ranges are standardised by EN 837 and the preferred pressure unit is the bar. As nominal sizes (NS) the following are specified for pressure measuring instruments: NS 40, 50, 63, 80, 100, 160 and 250. The accuracy class specifies the permissible deviation of the indication in percent of the full scale value. For pressure gauges with a pointer stop, the accuracy class applies from 10 to 100 % of the scale range. For pressure gauges with a free zero point, the accuracy class applies from 0 to 100 % of the scale range.
Why are gauge pressure gauges with Bourdon tube used for relative pressure (0.6 … 7,000 bar / 8.7 ... 101,526.4 psi)?
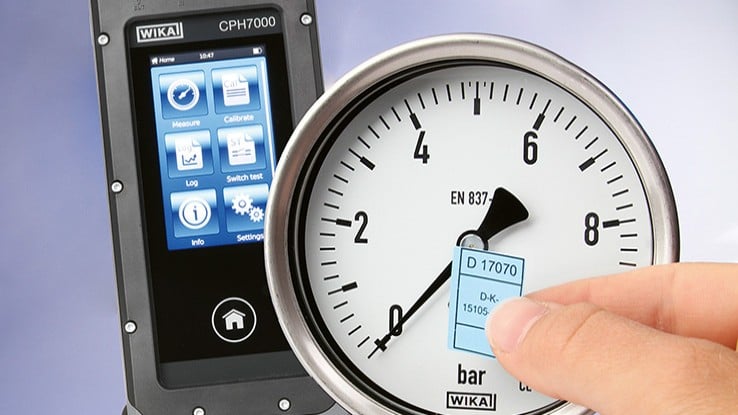
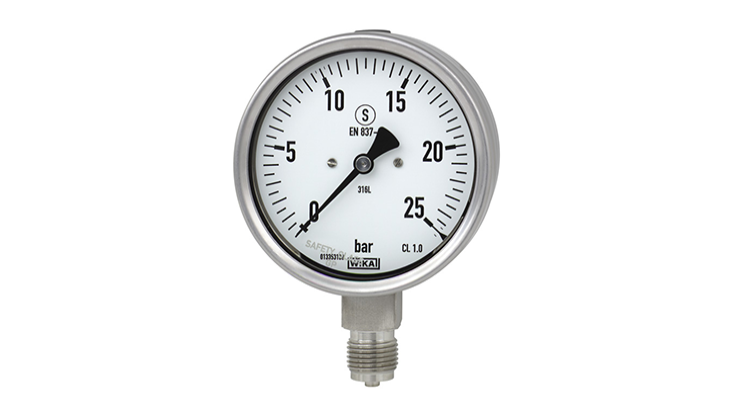
The area of application for these pressure gauges with Bourdon tubes is liquid and gaseous media. For measuring tasks in aggressive, not highly viscous and non-crystallising media, even in aggressive environments, the stainless steel variants are suitable. Liquid filling of the case ensures precise readability for the pressure gauge, even with high dynamic pressure loads and vibrations. When it comes to the highest accuracy, within WIKA's broad selection you will also find precision pressure gauges measuring with accuracies of 0.1, 0.25 or 0.6 % of the full scale value. A DKD/DAkkS certificate can be generated for these pressure gauges.
Why do gauge pressure gauges with diaphragm element are used for high overload safety (16 mbar … 40 bar / 0.2 ... 580.2 psi)?
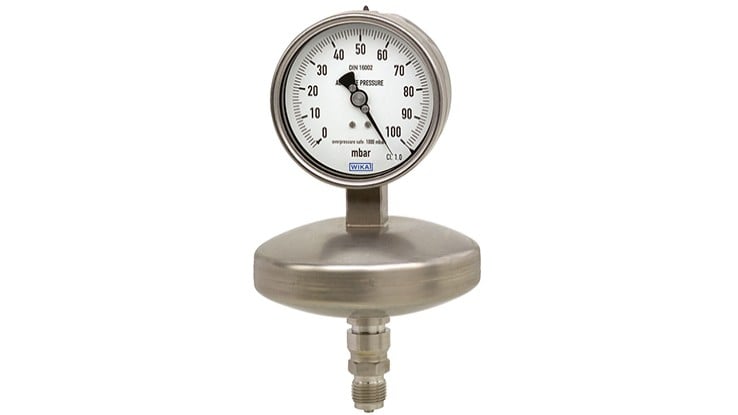
These pressure gauges with diaphragm pressure elements are suited to gaseous and liquid, aggressive media. Pressure gauges with open connecting flanges are even suitable for highly viscous and contaminated media, in aggressive environments too. Depending on the instrument model and pressure range, an overload safety of 3x or 5x the full scale value is standard. This overload safety is also possible for 10, 40, 100 or 400 bar (145, 580.2, 1,450.4 psi) special designs. The measurement accuracy is maintained. With high dynamic pressure loads and vibrations, a liquid filling within the case of the pressure gauge ensures precise readability. Optional special materials are available for wetted parts.
Why are gauge pressure gauges with capsule element used for very low pressures (2.5 … 600 mbar / 0.04 ... 8.7 psi)?
The area of application for these pressure gauges are gaseous media. The scale ranges are between 0 … 2.5 mbar (0 ... 0.04 psi) and 0 … 1,000 mbar (0 ... 14.5 psi) in accuracy classes from 0.1 to 2.5. The construction of these pressure gauges consists of two circular, corrugated diaphragms, joined together around the rim with a pressure-tight seal. In certain cases overload protection is possible. The pressure gauges are used mainly within laboratory and vacuum technology or medical and environmental engineering for filter monitoring and contents measurement.
In which areas are absolute pressure gauges used?
When measured pressures are independent of the natural fluctuations in atmospheric pressure, absolute pressure gauges are used. The pressure of the measured media is determined against a reference pressure, which corresponds to the absolute pressure zero point. So that there can be a near-perfect vacuum in the reference chamber, this is completely evacuated. The scale ranges for the pressure gauges are between 0 … 25 mbar (0 ... 0.4 psi) absolute and 0 … 25 bar (0 ... 362.6 psi) absolute, with accuracy classes of 0.6 ... 2.5. These highly precise pressure gauges are used, for example, for monitoring in vacuum packaging machines and vacuum pumps. They are also used for the monitoring of condensation pressures in laboratories or for the determination of vapour pressure in liquids.
In which areas are differential pressure gauges used?
Differential pressure gauges work with a wide range of pressure elements. As a result, measuring ranges from 0 ... 0.5 mbar (0 ... 0.007 psi) up to 0 ... 1,000 bar (0 ... 14,503.8 psi) and static overlay pressures up to 400 bar (5,801.5 psi) are possible. These differential pressure gauges monitor, e.g., the flow of gaseous and liquid media and the degree of fouling in filtration plants. They are also used for overpressure monitoring in clean rooms and for level measurement in closed vessels. They are also suitable for the control of pumping plants.
Do WIKA pressure gauges measure negative overpressure (vacuum pressure gauges)?
WIKA pressure gauges cannot only be used for the measurement of positive, but also for the measurement of negative gauge pressure. As soon as the absolute pressure is lower than the atmospheric pressure, one refers to it as negative gauge pressure. Previously, this gauge pressure with a negative sign was also designated as underpressure. In order to avoid misunderstandings which might arise from the sign, the designation 'underpressure' is nowadays not used anymore.
How is pressure measured with a Bourdon tube pressure gauge?
With Bourdon tube pressure gauges, the pressure is measured by a Bourdon tube transmitting pressure directly to the pointer.


